The first task is to determine the location of your message board sign. Ideally you want to select a street/highway that would have the greatest number of daily traffic. Often your state or city transportation services website will have traffic counts detailing specific roadways where they have counted the actual traffic. Knowing the daily traffic count will give you an indication of the impact your sign will have.
Depending on your location, jurisdictions such as city,county,and state all have laws,rules, and regulations that you need to follow with setbacks from the edge of the road will be one of your prime concerns. Some jurisdictions may also require construction permits. Before any digging starts, be sure to have buried utilities marked by contacting Call811.com at least a week ahead of time.
Plant Heaven Seeds with God’s Word
Sign Footings
As with the faith, it is important to have a strong, well built foundation for your church sign. We dug by hand two holes *4 foot deep, which is below our frost line. We then placed 10″ x 4′ sonotubes in each hole and back filled tightly around the sonotubes, making sure they were perfectly plumb. We then mixed a few bags of concrete by hand and filled the 2 sonotubes to the top which were level with one another.
Using a small piece of plywood, with 4 holes drilled in it, matching the bolt pattern of the steel column base, we worked into the wet concrete four j-style 10″ x 1/2″ anchor bolts and placed the plywood pattern through the bolts on the top of the sonotubes. Wrap the j-bolts threads at the top with tape to keep clean when it comes time to bolt the steel columns on.
*the size and depth of your footings need to be designed with local rules and regulations in mind. If you are in an area with frost -it is important to go below the frost line for your footing’s depth.
Inspire Others with God’s Word
Church Sign Support Structure
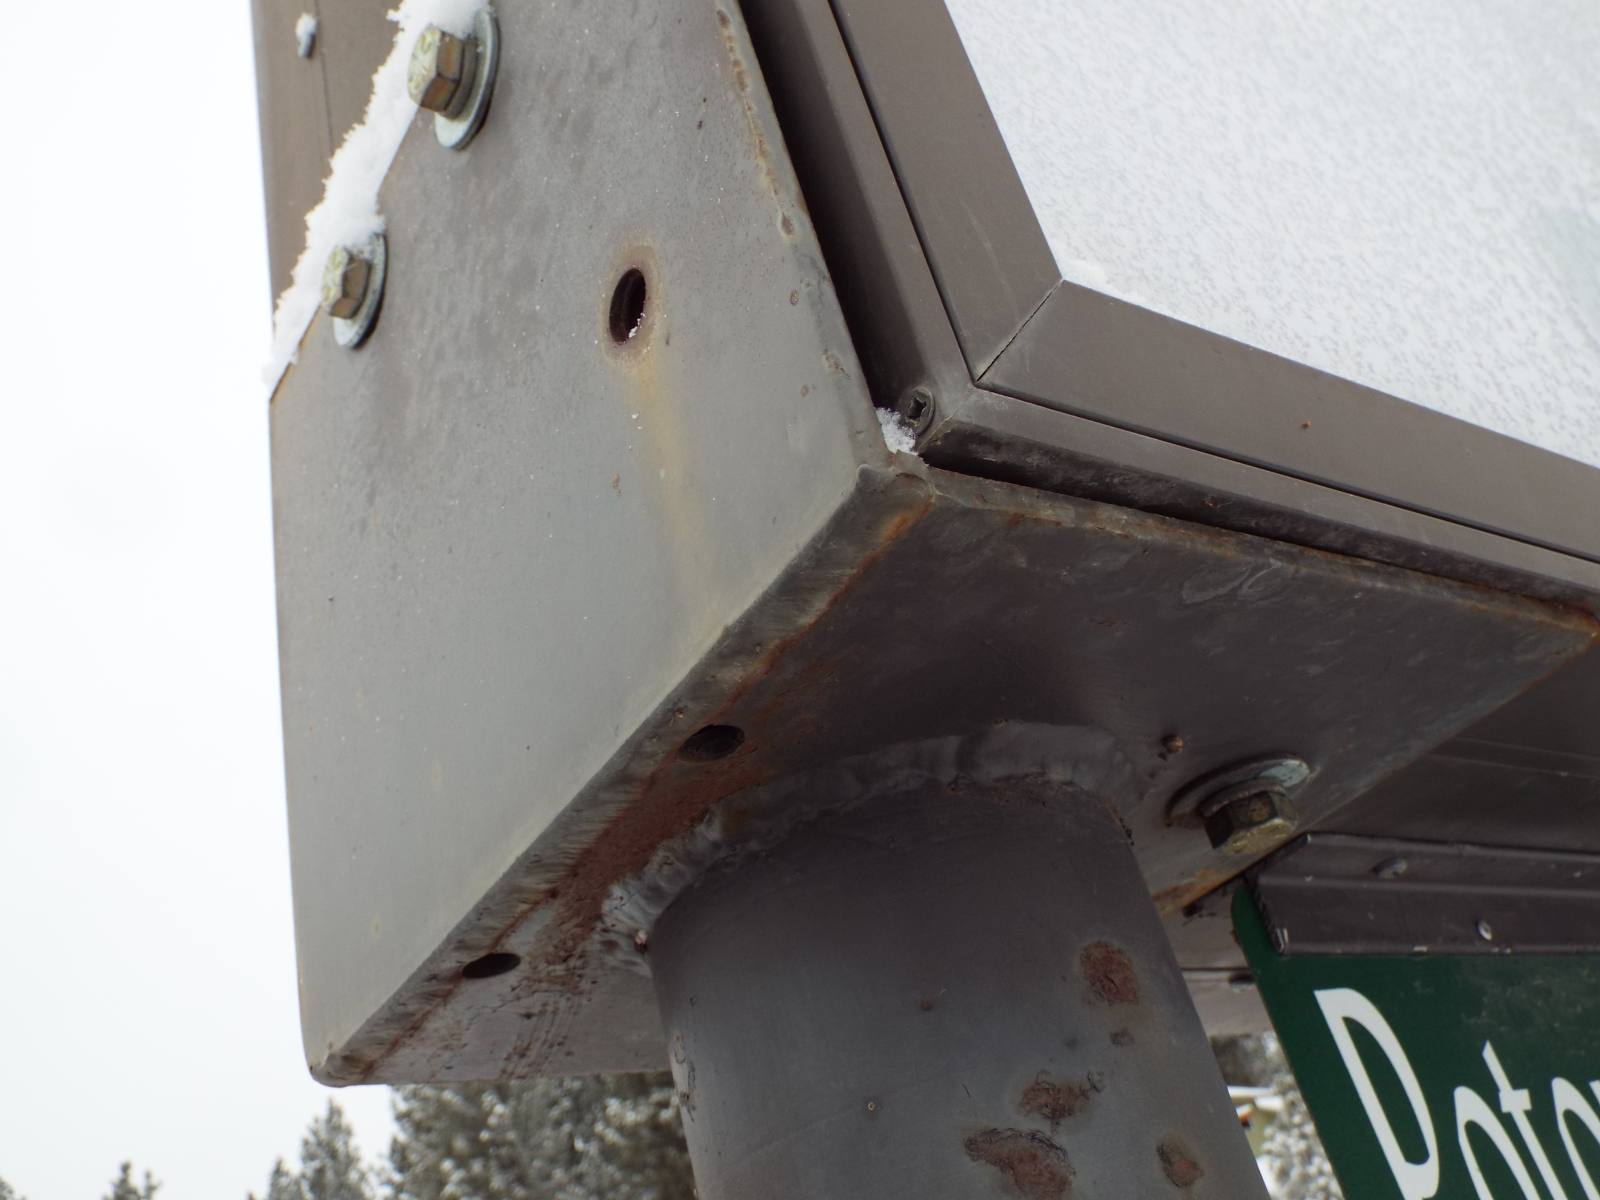
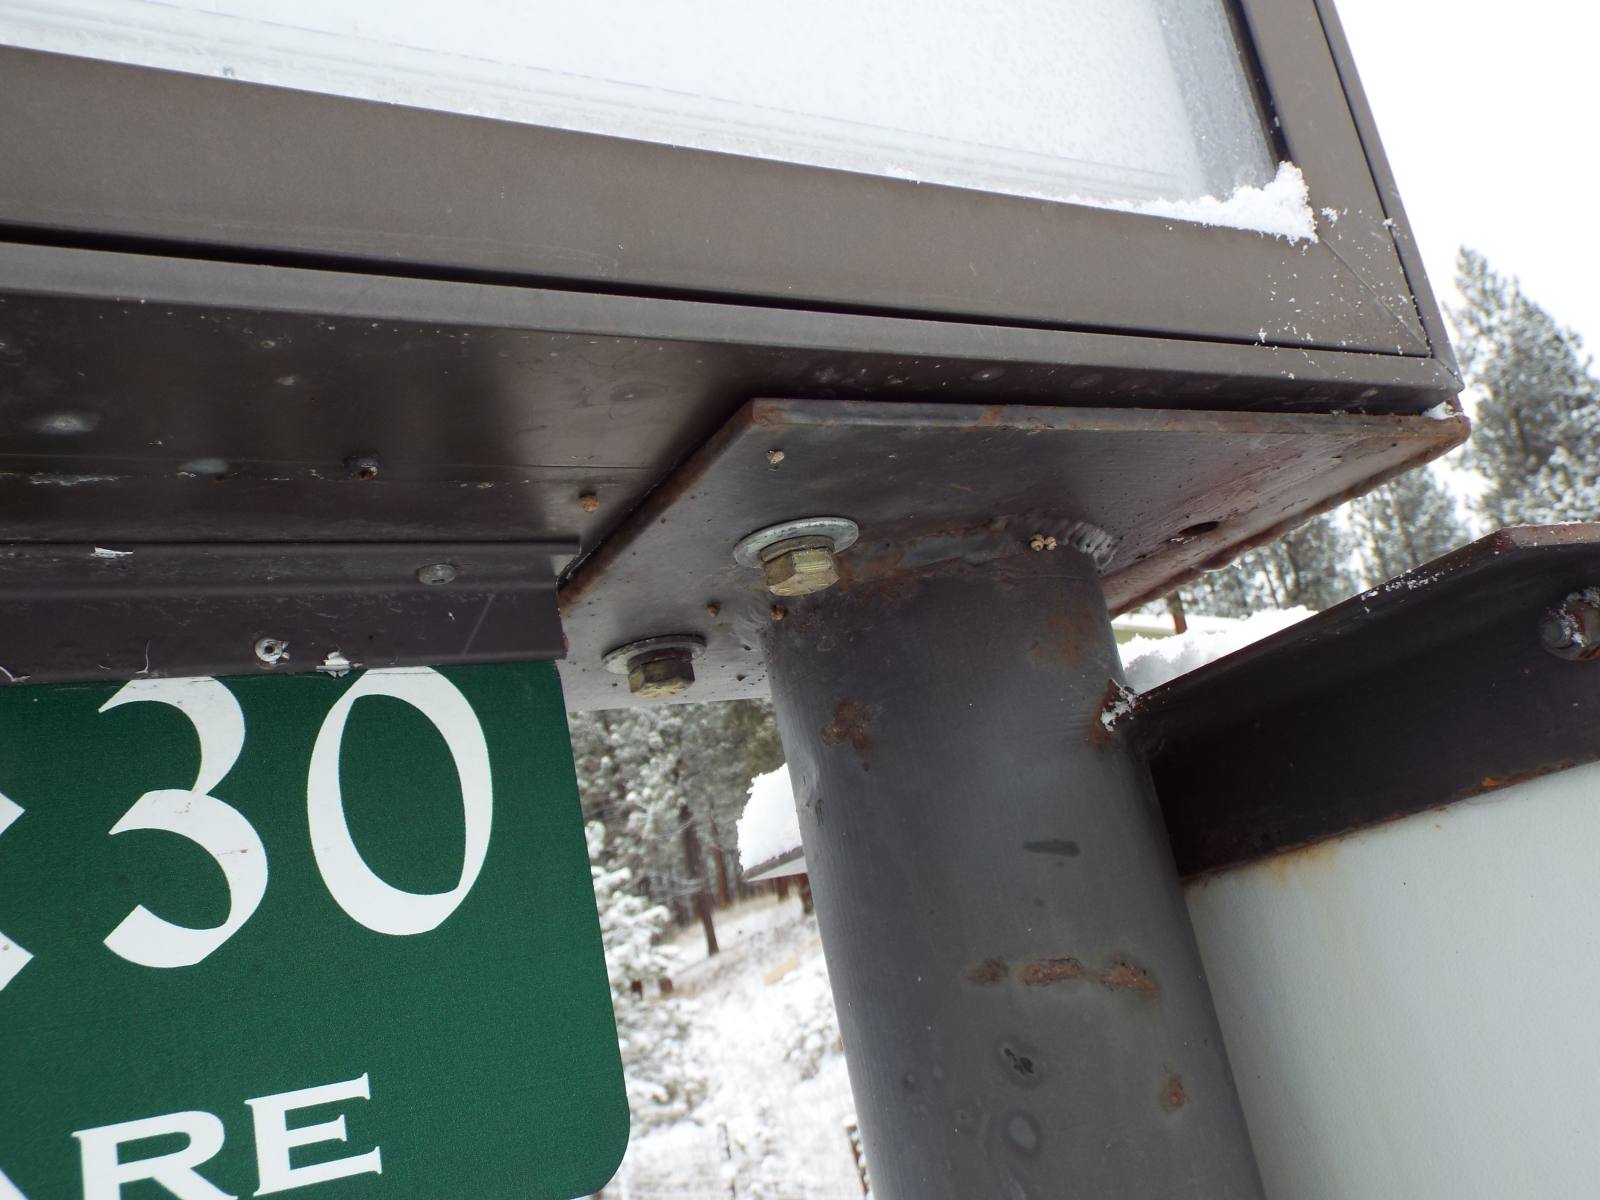
One of the church members welded the church sign supports using 1/2″ plate steel for the bottom which bolts to the footings. The two columns are 4″ pipe and the top plates are 3/8″ x 6″ plate steel. For additional support we bolted the sign both on the bottom and on the sides – Four – 1/2″ bolts per column.
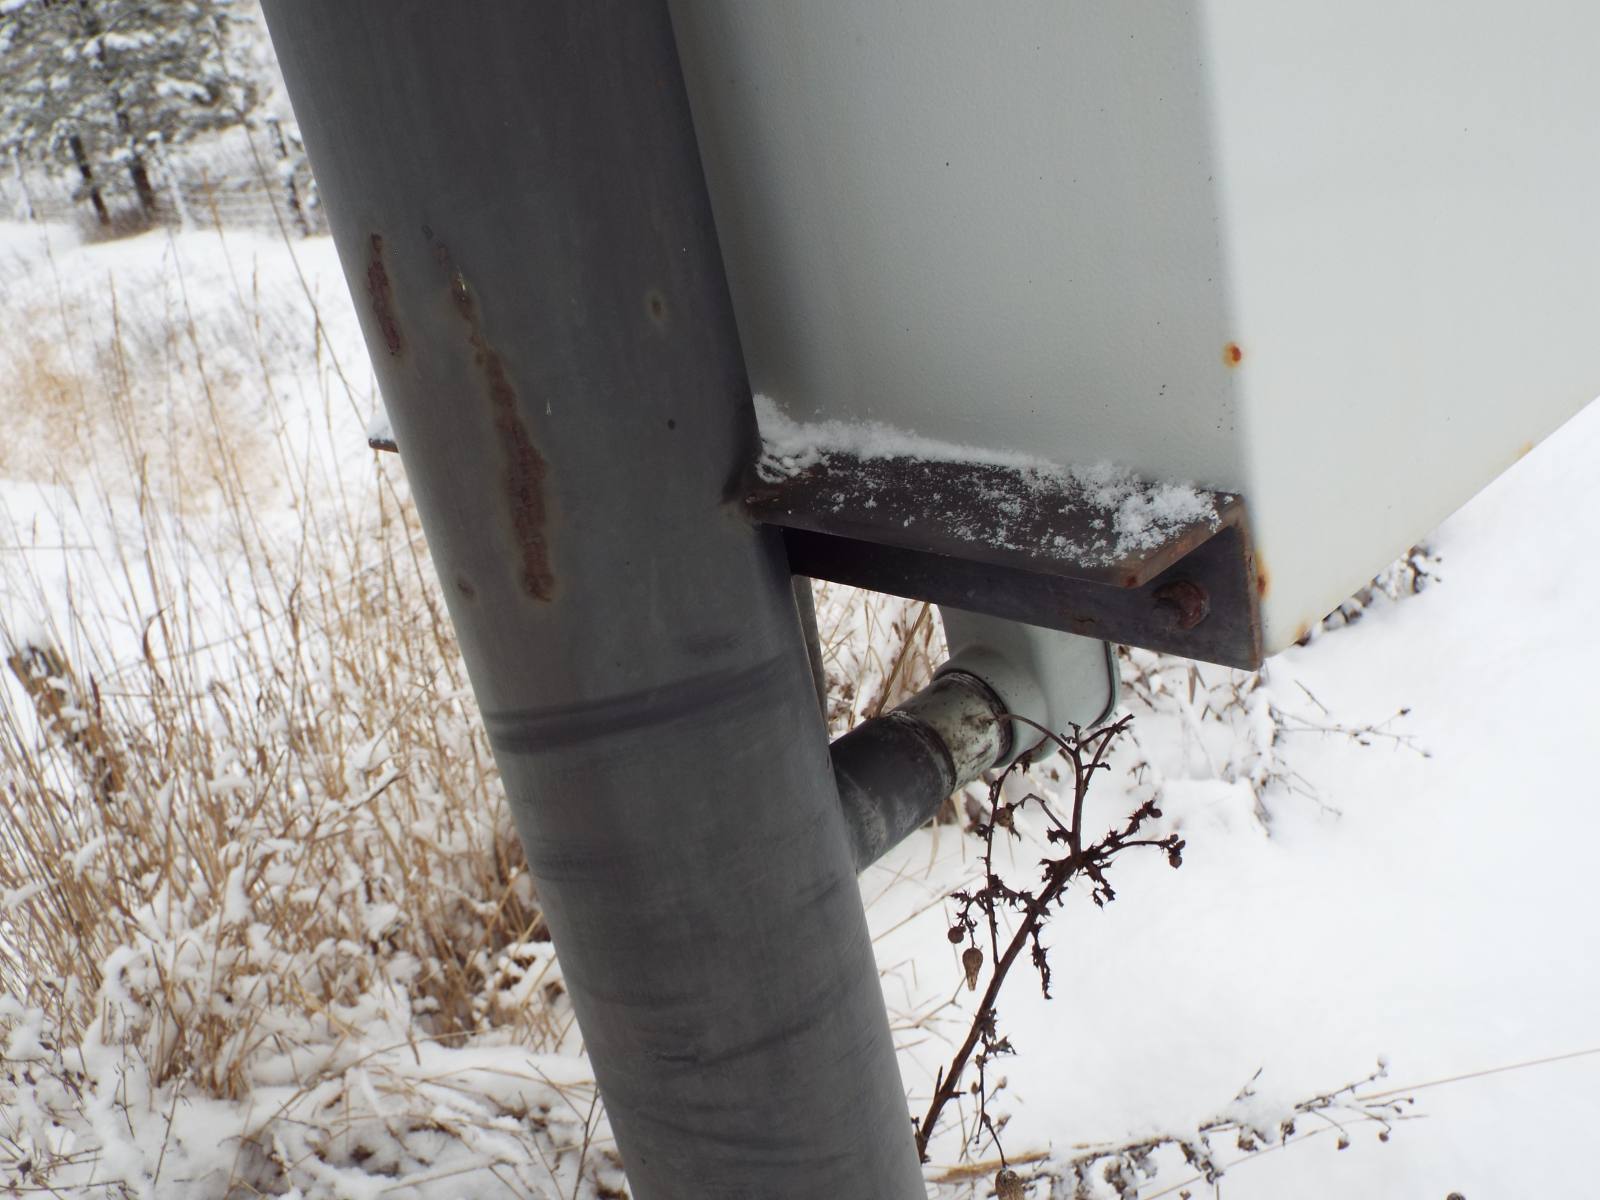
He also welded 2 angle iron supports for the control box as well as an electrical access pipe that provided access from control box to the interior of the sign. We also mounted a pair of aluminum angle to the bottom of the sign which we used to attach the green signs on the bottom. We made the height 60″ so it would be easy to change the lettering.
Note we drilled an additional hole on the vertical support plate which provides access to one of the screws that need to be removed in order to remove the lockable covers to access the interior section, should you need to change a light.
May the Holy Spirit Guide Your Path
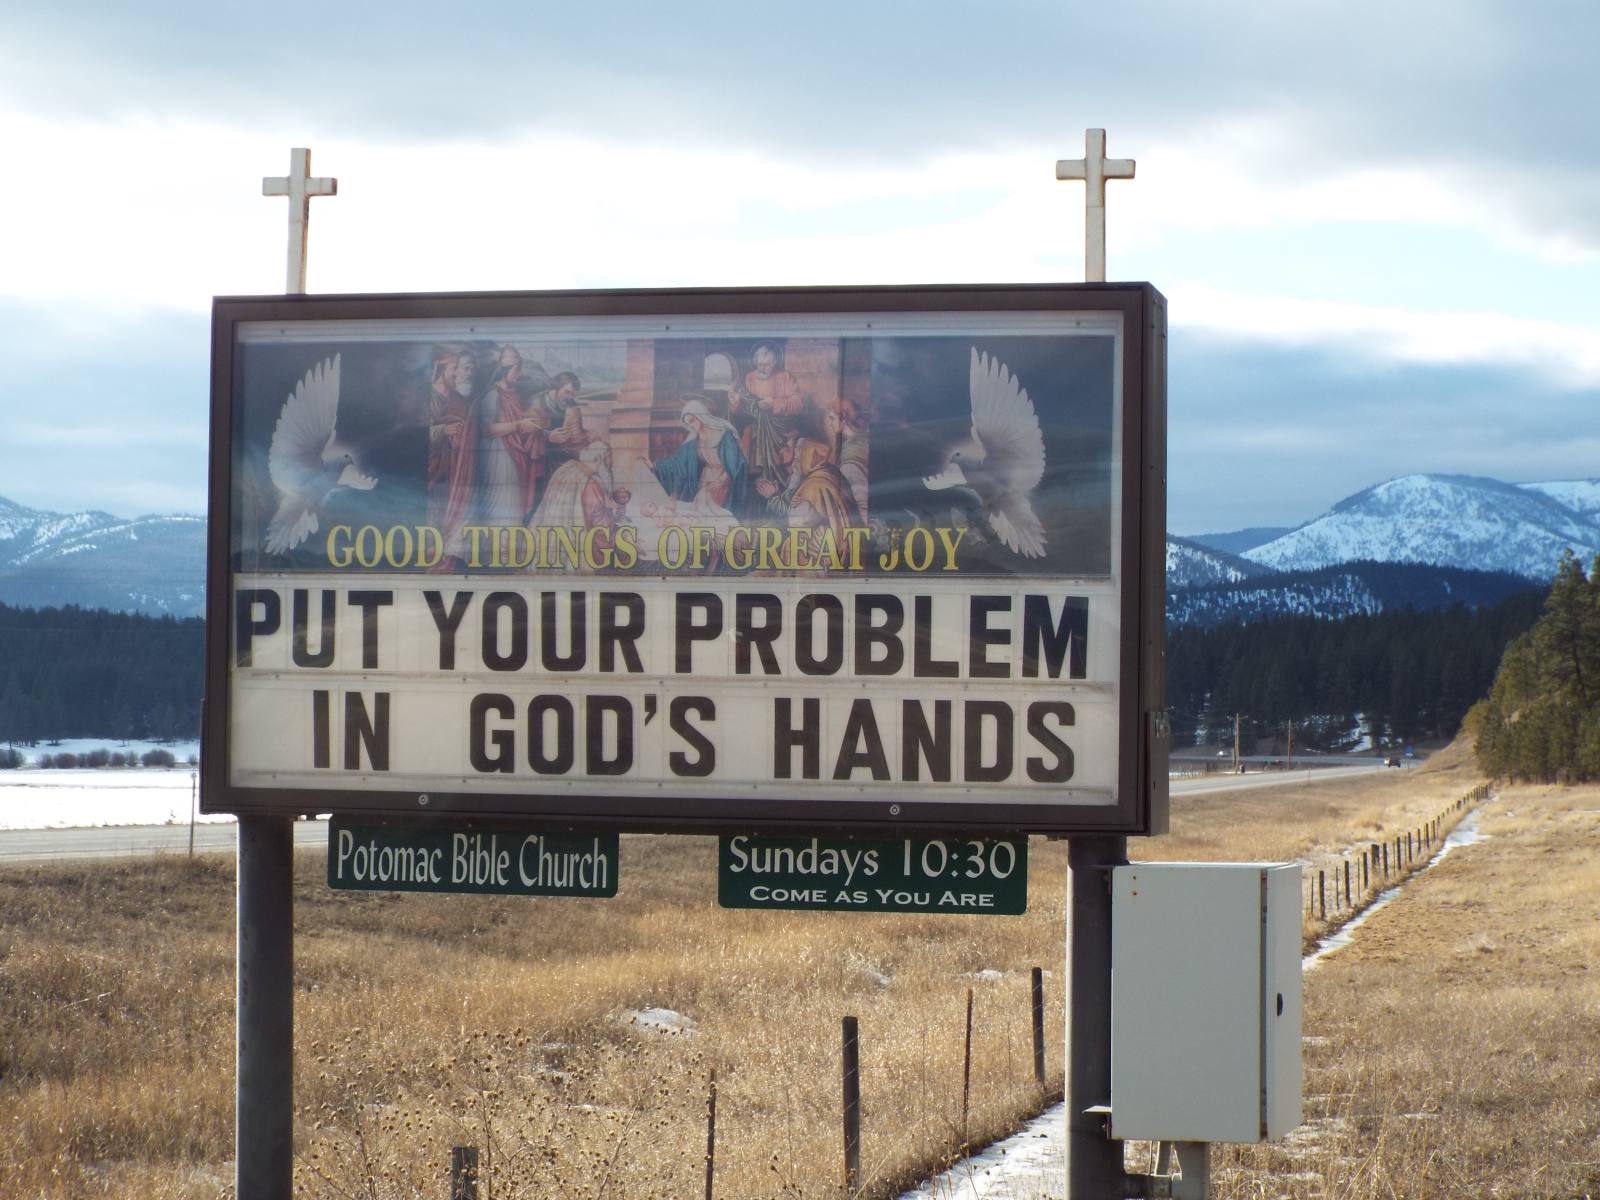
Illuminated Church Sign
We purchased a sign that would be illuminated at night and would have a lockable covers for both sides of the sign. These lockable covers are hinged at the top making it easy to reach under and change the sign’s wording. The top portion of the sign has tracks where we we inserted a backlit vinyl graphic. We used a different graphic for each side of the sign. We used two rows of 6 inch tall lettering tracks making for quick easy to read messages. This sign measures 74″ wide and 40″ tall.
These backlit graphics are relatively low cost, so seasonal changes can be made to these top graphics if desired. The bottom two rows have tracks where the 6″ lettering is inserted. We used four LED lighting tubes for our backlit sign lighting as the LED lights last longer and have much lower operating costs.
A church member also made a pair of crosses that we mounted to the top of the sign and placed reflective tape on which catch the headlights and display at night as well.
Encourage Others With God’s Word
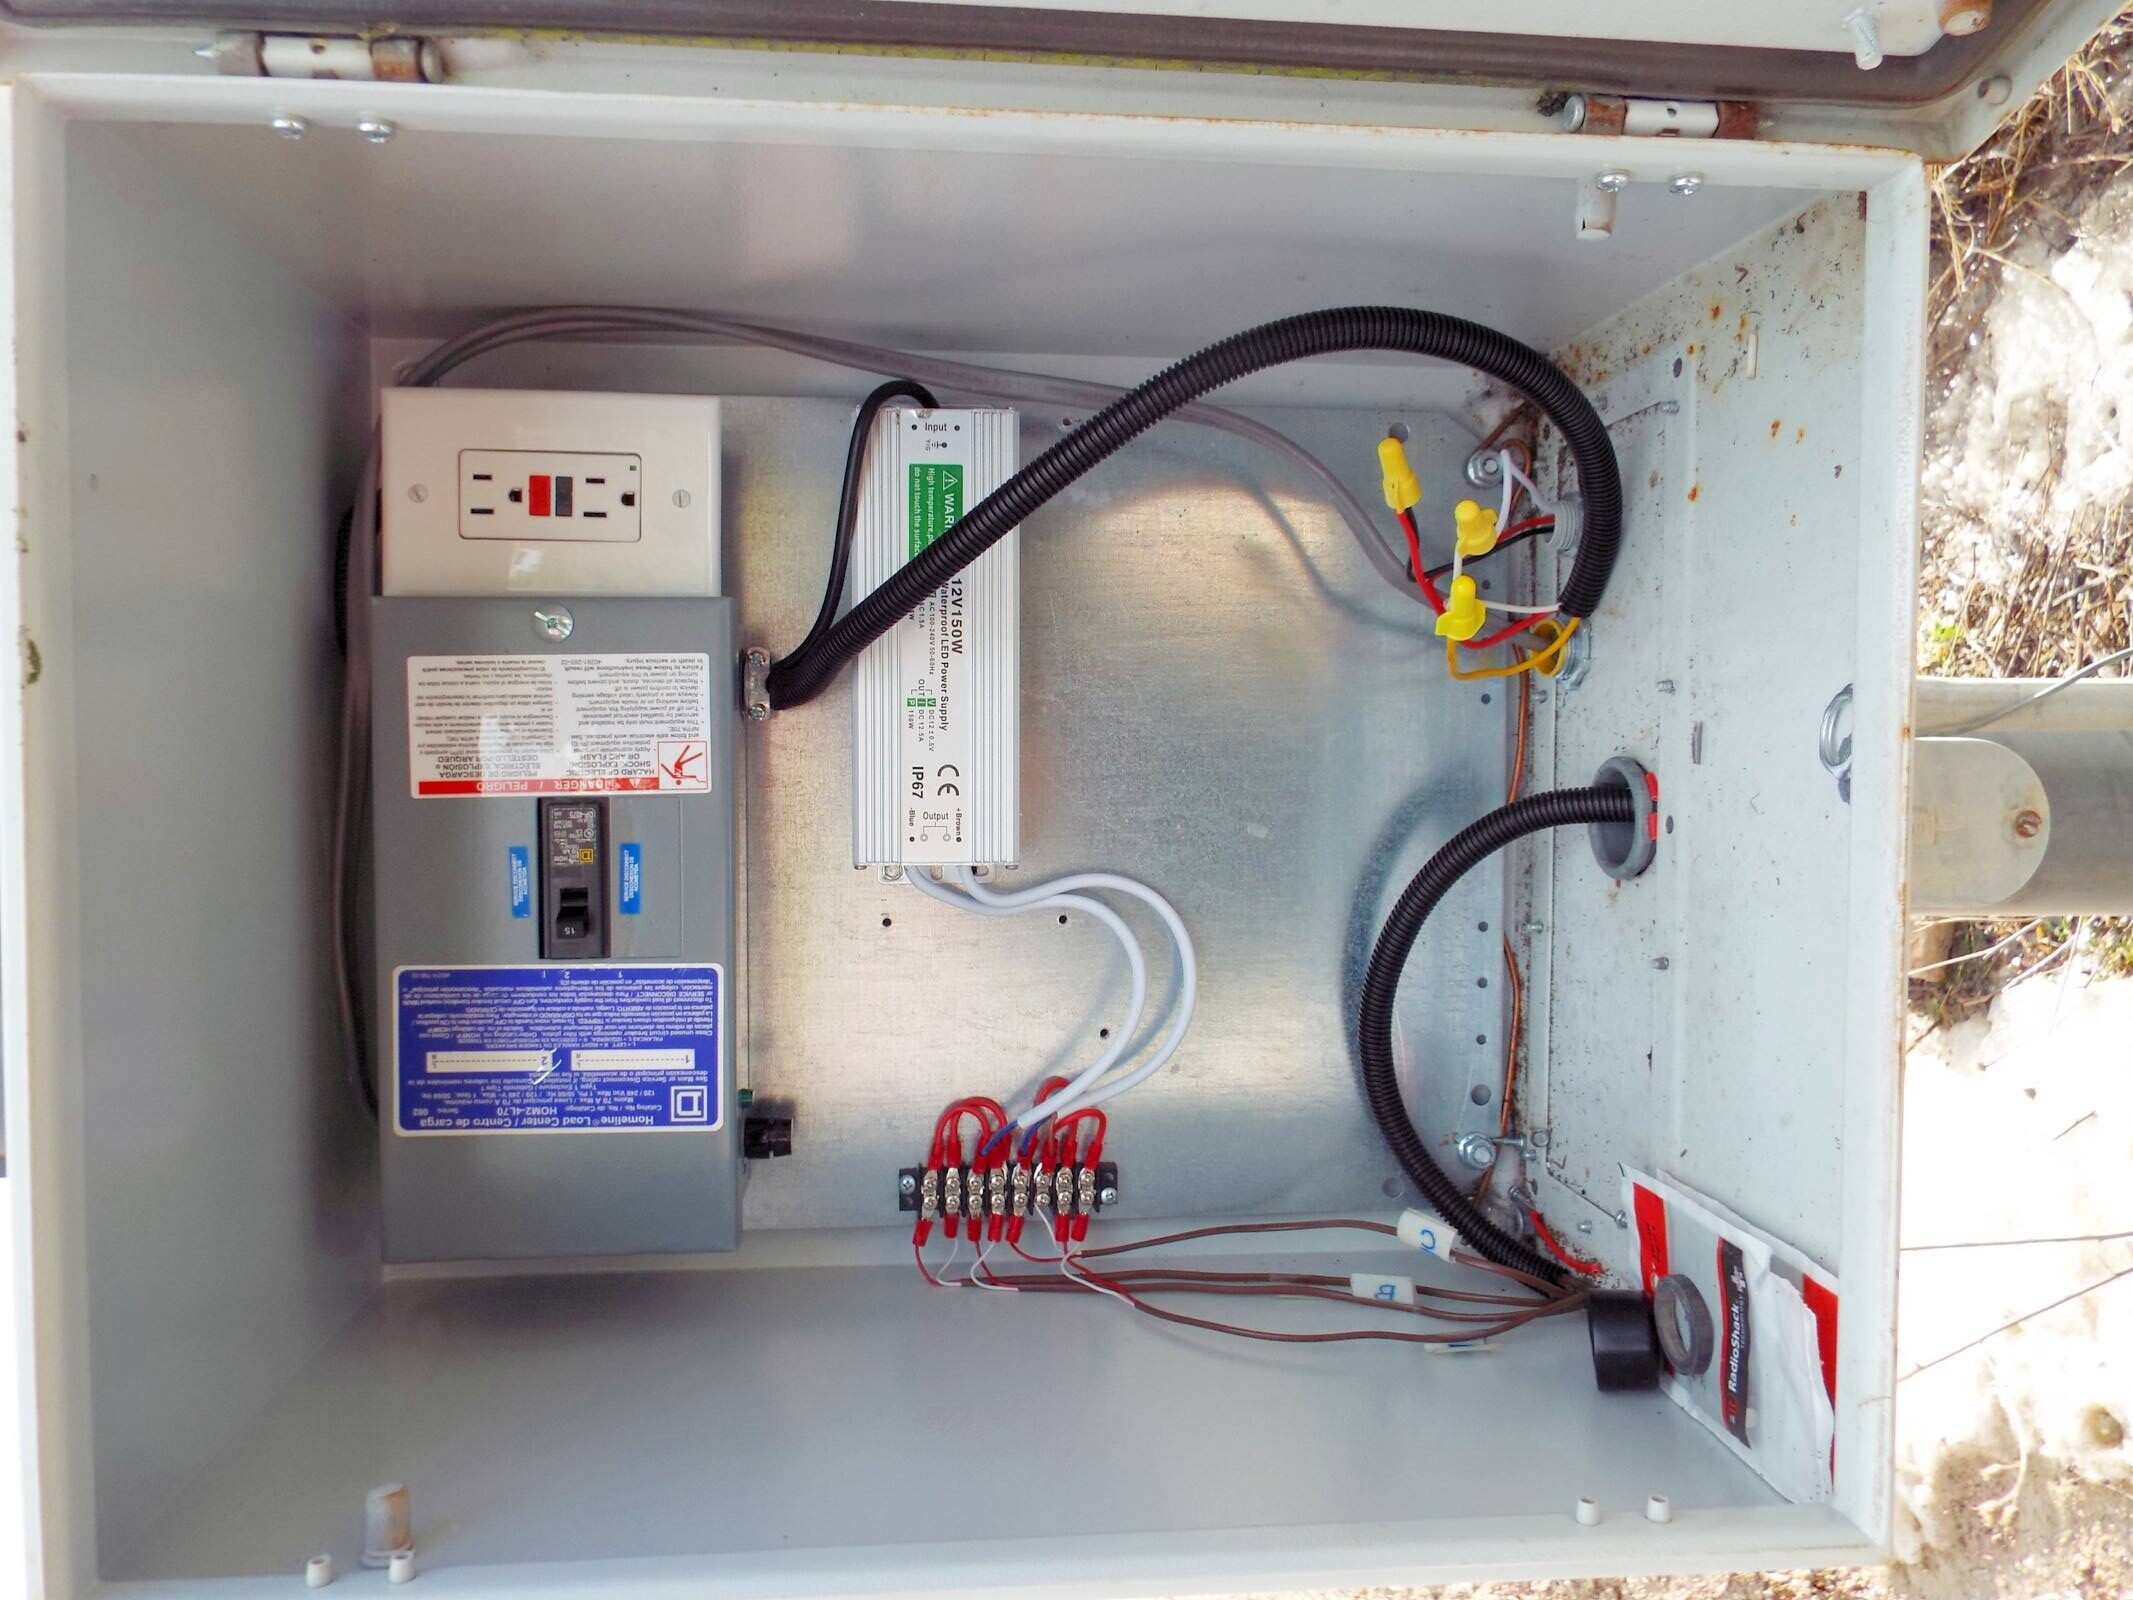
Church Sign Electrical
With working with electricity it is very important to have your sign wired by a licensed electrician. We buried an underground rated wire from the church to the sign and entered the bottom of the control box with metal electrical conduit. We have a 15 amp breaker disconnect within the weatherproof control box along with a GFI outlet. In our installation we considered using solar, so we used a 12 volt power supply along with 12 volt LED light tubes.
Solar was not practical in our situation and LED light tubes have advanced considerably since this installation – So a 120 volt standard power T8 LED system would work best for most installations. Lots of light for low operating costs and the LED lights last much longer.
We mounted the photoelectric eye light control on the bottom of the control panel and faced it away from the road toward the ground so the lighting system only turns on at night.
Take Action Today
Illuminated Double Sided Lockable Church Sign
We checked locally for a sign, but for our church, with a tight budget,our best option was a company out of Chicago. They can customize many of the features of the sign.